The File Format That Rewards Preparation and Punishes Laziness
I shoot RAW. I have since 2004, when I was working on the photo desk at a daily paper and realized that even under brutal deadline pressure, having the latitude to fix a blown highlight or recover a muddy shadow was worth the extra steps. Back then, we were wrangling Nikon NEFs on machines that took 45 seconds to render a single preview. Nobody complained. The alternative was worse.
What I see now, two decades later, is photographers who shoot RAW because they heard it was the professional thing to do, and then they treat those files exactly the way they’d treat JPEGs. Same cursory corrections. Same vague slider adjustments. Same rushed export. They’re carrying a scalpel and using it like a butter knife.
RAW processing isn’t just a file format preference. It’s a commitment to a workflow. If you’re not honoring that commitment, you’re adding time and storage costs without getting the benefit.
What’s Actually Happening Inside a RAW File
A RAW file is not an image. It’s sensor data plus metadata. Your camera hasn’t made any decisions about white balance, sharpening, noise reduction, or tone curves. It’s recorded the raw photon counts from each pixel site and handed you the keys. The “image” you see on the back of your camera or in your import screen is a JPEG preview that’s been embedded in the file. It’s a thumbnail, not the truth.
This matters because every processing decision you make in Lightroom, Capture One, or any other RAW processor is non-destructive. You’re writing instructions on top of the original data, not altering it. The file sitting on your drive after you export a JPEG is identical to the file that came off your card. That’s your insurance policy.
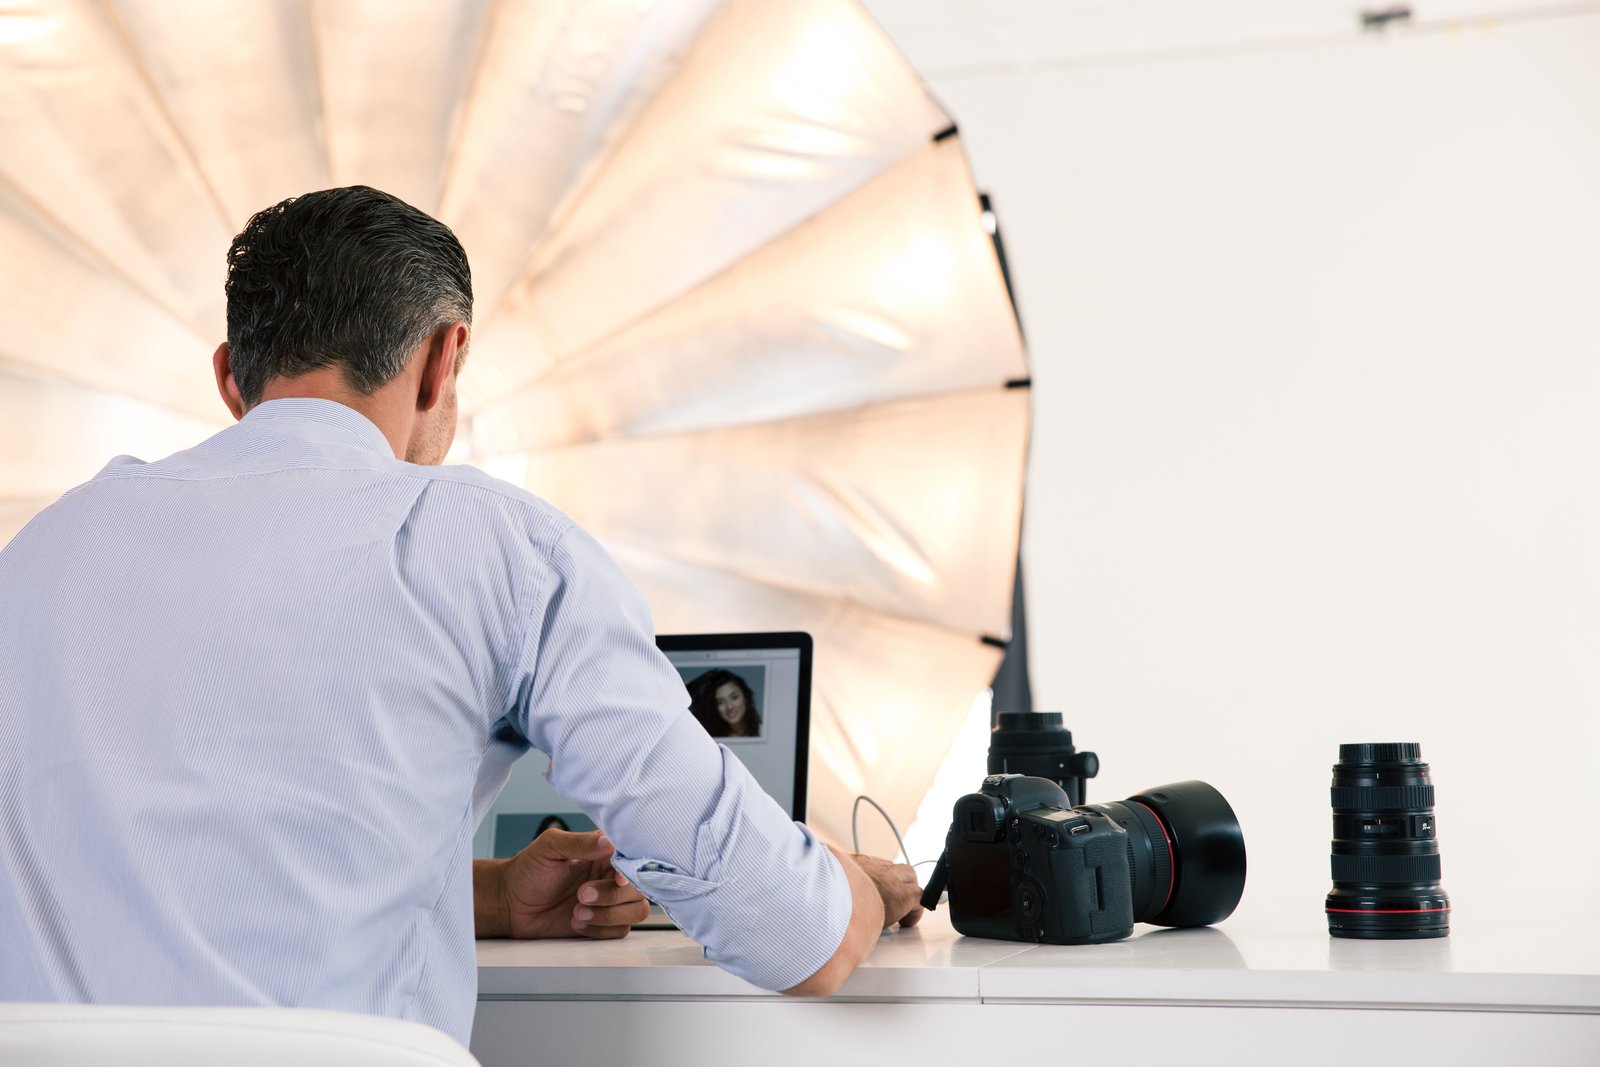
A 45-megapixel Sony ARW file runs about 55 to 60 MB uncompressed. A Canon CR3 from a 45MP R5 lands around 45 MB with lossless compression. These numbers matter when you’re planning storage. A two-day commercial shoot can generate 200 GB of RAW files before you’ve touched a single one.
A Processing Workflow That Actually Holds Up Under Client Pressure
Here’s what my actual workflow looks like, not the aspirational version.
Images come off the card immediately after a shoot and go onto two drives simultaneously using Photo Mechanic 6. I cull there, not in Lightroom. Photo Mechanic ingests RAW previews in roughly two to three seconds per file versus Lightroom’s six to ten. On a 500-image shoot, that’s real time. I rate keepers with a single star, rejects get nothing, and I never delete anything in the field.
From Photo Mechanic, the culled selects move into Lightroom Classic. I apply a baseline preset on import. Mine sets lens correction on, removes chromatic aberration, pulls highlights to negative 30, lifts shadows to positive 15, and sets a camera-matched profile rather than Adobe Standard. Adobe Standard adds contrast and saturation that fights you on skin tones. I built this preset once in 2019 and have refined it maybe four times since.
From there, global corrections take me roughly three to four minutes per 100 images on a portrait or product shoot. Commercial work with complex lighting might run eight to ten minutes per 100. If I’m spending more than that, the exposure was wrong in-camera, and I have a note I’ll be writing in my lessons-learned journal later.
Export to client: 16-bit TIFF for files going to print or retouching, sRGB JPEG at 95 quality for web proofs. No in-between. Clients don’t need to make that choice. I make it for them.
The Day My Kids Became My Best Argument for Non-Destructive Editing
A few years ago, my twins wandered into my office and, in the space of about four minutes, managed to drag an entire folder of client proofs into the trash and empty it. We’re talking 340 JPEGs from a product shoot, delivered proofs I’d already sent the client but still needed locally for revision requests.
I had them restored from a Time Machine backup in 90 seconds. The kids thought it was a magic trick. I thought about every photographer I’ve talked to who keeps a single working copy of exported files on one drive.
The proofs were JPEGs. Flattened, compressed, no recovery possible from the file itself if they’d been corrupted rather than deleted. What saved me wasn’t RAW, it was backup. But here’s the connection: because my RAW originals were also intact on two separate drives, the absolute worst case scenario was a one-hour re-export. That’s what non-destructive workflow buys you. The disaster ceiling drops dramatically.
Calibrating Your Monitor Before You Touch a Single Slider
None of this matters if your display is lying to you. A monitor that’s even 10 percent too warm will push you toward overcorrecting white balance on every image. A screen that’s too bright will cause you to underexpose exports. I calibrate with a Calibrite ColorChecker Display Pro, which runs around $180, and I do it every four weeks. That device has probably saved me more client headaches than any piece of camera gear I own.
Target white point is D65, 6500K. Target luminance is 120 cd/m2 for a bright office environment, or 80 cd/m2 if you’re working in a darker room. These aren’t aesthetic choices, they’re standards. Offset printing, commercial displays, and most web rendering is built around D65. If you’re not working in that space, you’re guessing.
Your RAW files contain extraordinary latitude. A properly exposed image shot in RAW on any modern full-frame sensor gives you four to five stops of highlight recovery and three to four stops of usable shadow recovery. You earned that headroom by choosing the format. Build a workflow that actually uses it, and the time you invest in setup pays back on every single shoot.
Comments
Leave a Comment